What Materials Are Used for Rock Engraving?
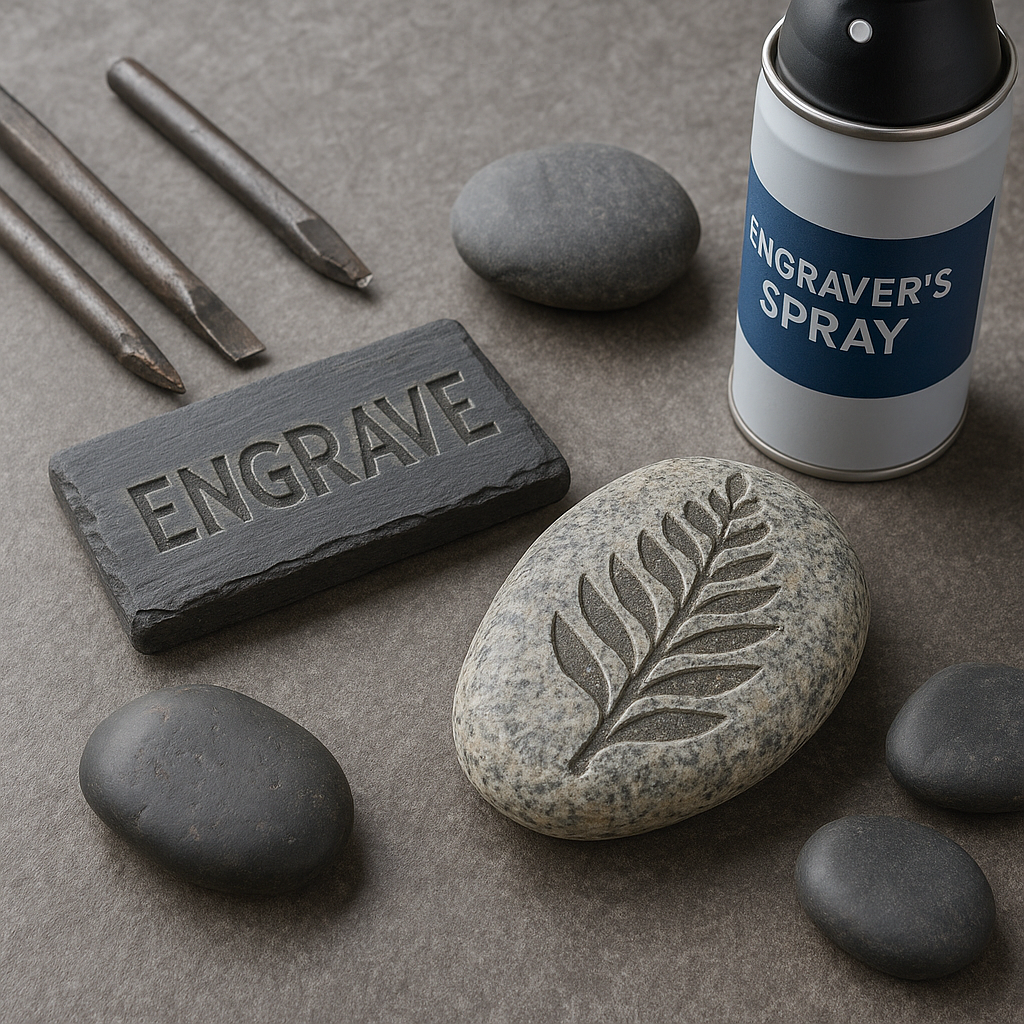
Ever wonder how people carve names or art into stone without summoning ancient stonemasons? The short answer: rock engraving uses everything from chisels and hammers to rotary tools and Laser Engravers for Stone. Keep reading to discover which rocks work best, which tools you’ll need, and how to finish like a pro.

What Materials Are Used for Rock Engraving?
Which Stones Are Easiest to Engrave?
Slate, basalt, limestone
When you’re just starting out, the stone you choose can make or break your experience. Slate, basalt, and limestone are widely considered the most beginner-friendly.
Slate is especially popular because of its naturally flat surface. Garden markers, coasters, and decorative plaques are often made from slate since it’s easy to carve clean lines. Even with simple tools like a Dremel, you can achieve sharp results without hours of effort.
Basalt is slightly tougher but still manageable. Its fine-grain texture holds detail well, making it a great option for designs that need a little more contrast or durability.
Limestone, on the other hand, is softer and very forgiving. It’s ideal for practicing lettering, experimenting with patterns, or trying out engraving for the first time. Just remember—it’s not as weatherproof as harder stones, so it’s better suited for indoor projects or gifts.
Why dark stones work best
If you want your engraving to really stand out, dark stones are your best bet. When you carve into black slate or deep gray basalt, the lighter-colored inner surface contrasts against the dark background. The result is a natural “highlight effect” without needing extra paint or polish.
That’s why so many engravers recommend starting with dark stones—they give you dramatic results with less work. Think of it like writing with white chalk on a blackboard; even simple letters look bold and striking. If you’re making a sign, memorial marker, or gift, dark stone ensures your design is visible and memorable.
What Is the Hardest Stone to Carve or Engrave?
Granite and dense quartz
Now, if slate is the easy-going friend, granite and dense quartz are the stubborn ones. Granite is one of the hardest natural stones you’ll encounter in engraving. That’s why it’s the material of choice for gravestones, monuments, and buildings that need to endure the elements for centuries.
But that strength comes at a cost. Granite takes real power to engrave—whether that’s a high-powered laser engraver or diamond-tipped rotary tools. Expect multiple passes and slower progress. The reward? Crisp, permanent designs that will outlast almost anything else.
Quartz is similar. Its density makes it difficult to cut cleanly with basic tools. But with patience and the right equipment, quartz produces some of the most beautiful engravings, with light refracting off its crystalline structure.
Challenges with obsidian
Obsidian is a bit of a wildcard. At first glance, it looks like the perfect material: smooth, glossy, and jet black. But as a volcanic glass, it’s brittle. One wrong strike or too much pressure, and it can chip or shatter.
That doesn’t mean you should avoid it altogether. Light, careful passes with a laser or fine rotary tool can create striking results. Some artists love obsidian for its mirror-like finish—it just demands a delicate touch and plenty of patience. Think of it as the “diva” of engraving stones: stunning when treated right, but quick to break if handled roughly.

Tools and Accessories for Stone Projects
Laser modules, sprays, clamps
No matter the stone, the tools you use are just as important as the material itself. Laser engravers for stone have become incredibly popular because they can handle everything from soft limestone to tough granite with precision. With the right settings, lasers can carve lettering, logos, or even detailed portraits.
For lighter-colored stones, marking sprays are often used. They create a darker surface layer that makes the engraving stand out more. Without it, designs on pale marble or limestone can look faint.
And let’s not forget the basics—clamps and jigs. Securing your stone is essential. Even a slight wobble mid-engraving can ruin hours of work. Accessories like diamond-tipped bits, polishing pads, and sealants also make a big difference. They help refine your piece, turning a rough cut into something that looks professional and finished.

Matching the Right Stone with the Right Technique
Choosing stone by project type
Not every stone is right for every job. If you’re making a garden decoration or a quick gift, slate or limestone are affordable, easy to engrave, and look great with simple designs.
For outdoor signage, commemorative plaques, or memorial stones, durability is key. Granite and basalt shine here because they resist weathering and hold fine detail for decades. If you want elegance, marble delivers beautiful results—but it chips easily, so it’s best suited for projects handled with care.
In short, let the project guide your choice. A delicate wedding gift doesn’t need granite’s toughness, and a garden memorial won’t last long in limestone.
Testing materials before final engraving
Here’s a mistake many beginners make: jumping straight onto their final stone. Every stone has quirks—some chip, some crack, some don’t contrast the way you expect. That’s why testing is so important.
Always practice your design on a scrap piece first. Adjust your engraving speed, depth, and pressure until you’re happy with the results. It may feel like an extra step, but it saves money, frustration, and sometimes even hours of wasted work. Experienced engravers know: testing is the difference between a project that looks homemade and one that looks professional.


Leave a comment