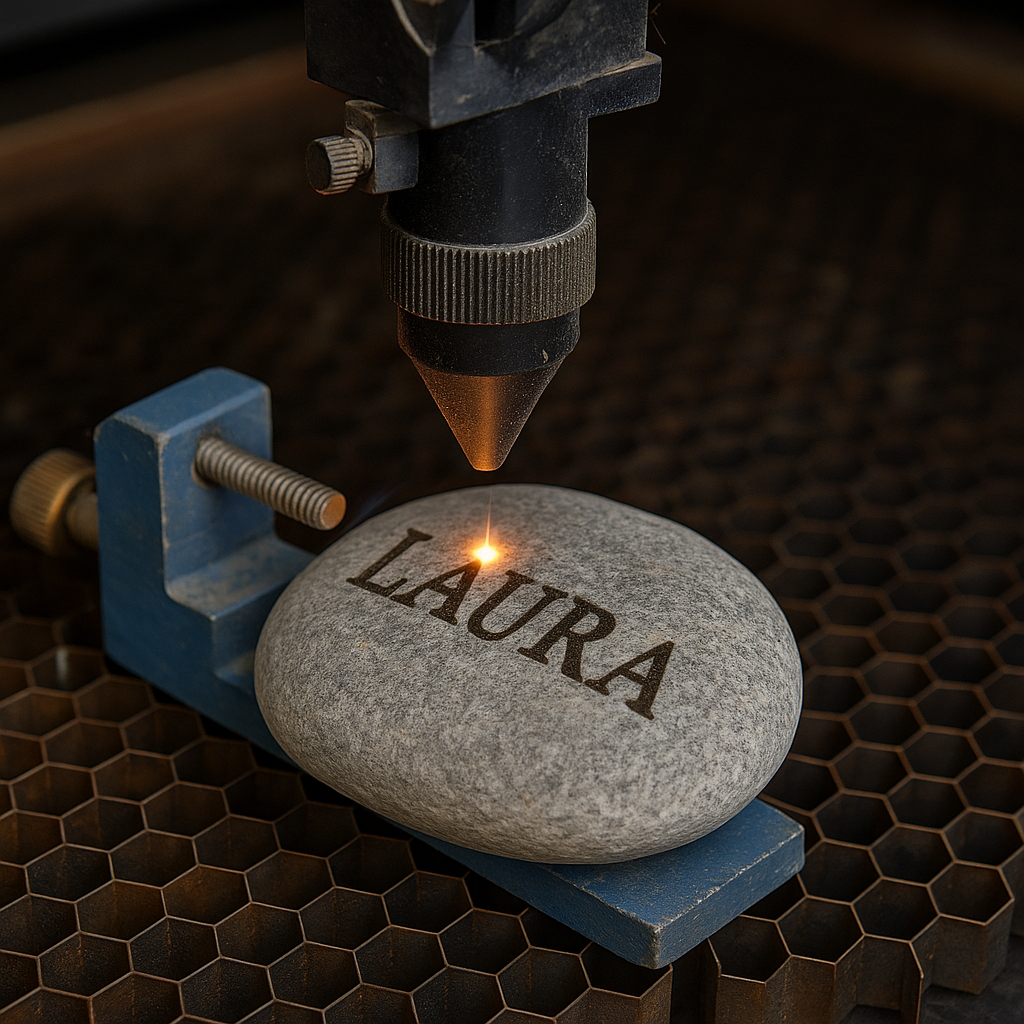
Ever wanted to carve your mark—literally—into stone? The short answer: clean the surface, transfer your design, and use hand tools or Laser Engravers for Stone. With a bit of patience (and safety goggles), you can create lasting DIY art. Keep reading for step-by-step tips to nail it.

How to Engrave a Stone at Home

How to Engrave a Stone at Home
What Tools Are Needed to Engrave Stones at Home?
If you’ve ever thought about making a personalized garden stone, a pet memorial, or even a unique gift, the first step is having the right tools. The fun part? You don’t need a full workshop to start engraving at home. Just a few smart choices can get you carving in no time.
Laser engraver options
For precision and speed, a laser engraver is hard to beat. These machines can etch names, dates, or even photographs into stone with incredible detail. If you’ve ever seen a polished granite plaque with crisp lettering, chances are it was made with a laser.
CO₂ lasers are common for hobbyists, while fiber lasers handle harder stones like granite. They’re quick, reliable, and perfect if you plan to do more than one project. The drawback? The upfront cost. But if you’re serious about engraving, a laser can save you hours compared to hand tools and deliver professional-level results every time.
Supporting tools—sprays, jigs
Lasers don’t do all the work alone. Marking sprays help create sharper contrast, especially when engraving lighter-colored stones. Without it, designs can look faint or washed out.
You’ll also want jigs or clamps to keep your stone steady. Nothing’s worse than a rock shifting halfway through your design. And if you like clean lettering, stencils or transfer paper are lifesavers. They help map out your design before you commit, keeping things neat and symmetrical.
Can You Use a Dremel for Rock Engraving?
Not ready to splurge on a laser? No problem. A Dremel or other rotary tool is a great starting point. With the right diamond-tipped bits, you can carve into slate, marble, and even granite if you go slowly.
Think of it like sketching with a pencil versus printing with a machine. The Dremel gives you complete control, which is great for creative projects, but it also requires a steady hand and patience. If you’re practicing on river rocks or making small personalized gifts, this tool is more than enough.
Hand tool vs laser outcomes
Here’s the key difference. Hand tools, like chisels or a Dremel, give your work a raw, handcrafted look. Every line is unique, and imperfections can add character. But the process is slower, and achieving fine detail takes practice.
Laser engravers, on the other hand, deliver crisp, repeatable designs with little effort. If you’re engraving wedding favors or memorial plaques where consistency matters, lasers shine. The choice depends on your project: do you want handcrafted charm or machine-perfect precision?

How to Put Your Name on a Rock (Step-by-Step)
Engraving your name on a stone is one of the simplest and most rewarding projects to try at home. Here’s a clear, step-by-step process.
Preparing the rock
Start by picking your stone. Slate is a beginner’s best friend—soft enough to carve but durable enough to last. Granite looks stunning but takes more patience and tougher tools.
Wash the stone thoroughly to get rid of dirt or dust, then sand the surface lightly with fine-grit sandpaper. A smooth, clean surface makes it easier to engrave sharp, visible lines. Think of it like priming a canvas before painting.
Engraving process
Lay out your design first. You can draw directly on the rock with a pencil, tape on a stencil, or transfer your design with carbon paper.
If you’re using a Dremel, start with a fine engraving bit to trace the outline. Move slowly and steadily—rushing leads to slips. Once the outline is complete, switch to larger bits to deepen the cuts and add shading or texture.
If you’re using a laser engraver, secure the stone in place, select the right settings (power and speed), and let the machine do the heavy lifting. Lasers can replicate fonts, logos, or even detailed artwork with precision.
Finishing and sealing
Once your engraving is complete, brush away the dust and clean the stone again. To protect your work, especially for outdoor pieces, apply a stone sealant. This not only guards against weather but also enhances contrast, making your design stand out more.
Sealing is the step many beginners skip, but it makes a huge difference. It’s like putting varnish on a painting—it preserves your work and keeps it looking fresh for years.

Safety Tips for DIY Stone Engraving
Engraving might sound harmless, but it creates dust, debris, and noise. A few simple precautions can make the difference between a fun project and a dangerous one.
Ventilation and dust management
Stone dust is fine, sharp, and not something you want in your lungs. Always work outside or in a well-ventilated garage. If that’s not possible, use a dust collector or even a shop vacuum to capture particles as you go.
You’ll also save yourself cleanup time. Dust settles fast, and without proper ventilation, it can coat your workspace (and your lungs). Treat dust control as part of the project, not an afterthought.
Protective gear
Your eyes, hands, and lungs need protection. Goggles keep chips and dust out of your eyes, gloves protect against sharp edges, and a dust mask or respirator filters harmful particles.
Also, secure your stone with clamps or a vice. It only takes one slip of a tool to cause injury or ruin your design. Tie back loose clothing or hair too—nothing should get caught while you’re working. Staying safe lets you enjoy the creative part without distractions.
-
You May Also Like:


Leave a comment