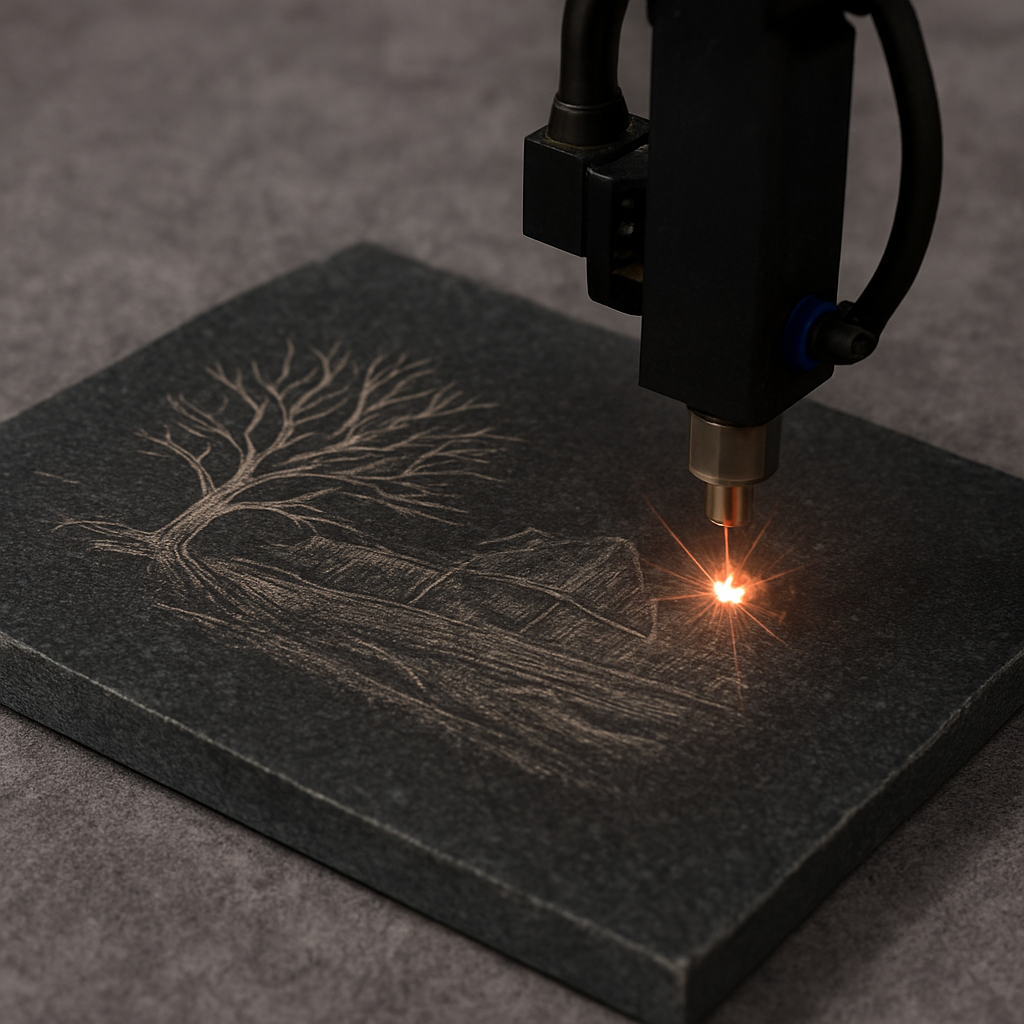
What Is the Best Way to Engrave a Stone?
Want to turn a plain rock into a masterpiece? The short answer: Laser engravers for stone are the best way—fast, precise, and long-lasting. But before you grab a laser, stick around… we’ll reveal tips, tricks, and stone secrets to make your engraving truly unforgettable!

Comparing Laser Engraving vs Rotary & Sandblasting
Traditional methods—sandblasting, chiseling
For centuries, people carved into stone with hammers, chisels, or sandblasting. It worked, but it was slow, dusty, and often messy. A single design could take hours, and even then, tiny details were hard to achieve. These methods have a certain charm, but precision? Not so much.
Why laser is more precise & efficient
Enter laser engravers for stone. With a beam of light instead of a chisel, you can cut out patterns sharper than a razor’s edge. Intricate logos, detailed portraits, or text that looks printed—lasers handle it all in minutes. Plus, there’s no need for heavy equipment or protective blasting rooms. Efficiency and accuracy are the real game-changers here.
Step-by-Step Guide to Laser Operation for Stone
Preparing the stone surface
Cleaning, positioning, masking
First things first—get your stone ready. Clean off dust and debris so the laser has a smooth canvas. Position the stone flat and secure it so it won’t shift mid-job. If you’re working with polished stone, masking tape can help reduce scorch marks and keep the finish crisp.
Adjusting machine settings
Power, speed, frequency basics
Every stone is different. Granite, marble, or slate all react uniquely to the laser. Start by adjusting power, speed, and frequency based on the hardness of the stone. Too much power burns; too little leaves faint marks. Think of it as fine-tuning a recipe—balance is everything.
Running test engravings
Using test tiles for calibration
Before diving into the main piece, always test. Use a small tile or hidden area of the stone to check settings. This little step saves frustration later. If the contrast or depth looks off, tweak your settings. Calibration is the unsung hero of perfect engravings.

Tips for Clean, Long-Lasting Engravings
Achieving high contrast finishes
Want your design to pop? Contrast is key. Engraving darker stones with lighter fills—or vice versa—makes text and graphics stand out. Sometimes a second pass with the laser adds extra depth and sharpness. A well-contrasted finish can turn a simple engraving into a showpiece.
Sealants and aftercare
Once your design is complete, don’t just walk away. Applying a clear sealant can protect the engraving from weather, dirt, and wear. It’s like adding a topcoat to nail polish—extra shine, longer life. Regular wiping with a damp cloth also helps the engraving stay sharp over time.

Common Mistakes to Avoid
Overpowering the laser
One of the biggest beginner mistakes? Cranking up the power too high. It might seem faster, but it can scorch the stone or even crack it. Patience wins here—several lighter passes often produce cleaner, more controlled results.
Poor ventilation & safety oversights
Stone engraving creates dust and fumes you don’t want to breathe. Skipping ventilation is not only uncomfortable but unsafe. Always run your laser in a well-ventilated space or use an extraction system. Safety goggles, gloves, and common sense go a long way in keeping your workshop hazard-free.
Laser engraving has transformed stonework from a labor-heavy craft into a precise, efficient, and creative process. With the right prep, settings, and care, you’ll be producing engravings that look professional and last for years.


Leave a comment