What Are the Settings for Laser Engraving Stones?
Ever tried etching your name into granite, only to end up with something that looks like a squirrel’s doodle? The short answer: settings depend on stone type—power, speed, and focus matter most. Keep reading to discover how Laser Engravers for Stone turn trial-and-error into stunning artistry.

What Are the Settings for Laser Engraving Stones?
Recommended Power, Speed & Resolution
General starting points
If you’ve ever stared at a Laser Engraver for Stone, wondering which numbers to punch in first, you’re not alone. The settings feel like a guessing game at the start. But just like learning to cook, a good recipe gets you moving in the right direction.
For softer stones like marble, think 10–20% power with medium speed. Granite, on the other hand, laughs at weak settings—it usually needs 30–40% power and a slower pace to make a dent. Resolution matters too: 250–500 DPI is the sweet spot. Lower DPI works for bold designs, while higher DPI is perfect for photos or fine details.
One pro tip: start conservative and build up. It’s much easier to deepen a design with another pass than to undo a mark that’s too harsh.
Balancing contrast and depth
When engraving stone, you’re always balancing two things: how deep the mark goes and how visible it is. Depth gives the design staying power, while contrast makes it catch the eye.
Here’s the trap beginners fall into: cranking up power to get darker marks. But stone doesn’t work like wood—it can scorch, chip, or flake under too much heat. On the other side, if you dial it down too far, you’ll end up with something that looks like a faint pencil sketch instead of a bold carving.
The solution is finding that middle ground. Use slower speeds with moderate power for engravings that need to last, like outdoor plaques. For finer details—say a portrait on marble—try faster speeds with lighter power, layering multiple passes until you’re happy.
Adjusting Settings for Granite, Marble & Slate
Granite—higher power, slower speed
Granite is a tank. It’s tough, dense, and polished surfaces especially won’t budge without effort. That’s why 30–40% power with slower speeds is your friend here. Think of it as swapping a fine pen for a bold marker—you need strength, not subtlety.
Granite also benefits from multiple passes. Your first run defines the lines, while the next pass or two deepen and sharpen the design. The end result? A bold, lasting mark that doesn’t fade when the light hits at an angle.
Tip: On dark granite, lighter engravings look stunning. It’s all about creating that bright contrast against the deep stone surface.
Marble—lighter passes for detail
Marble is the showpiece stone—it engraves beautifully, but it can be fussy. Go in heavy-handed and you’ll get cracks, burns, or chips. Instead, treat marble like it’s fragile china. Use 10–20% power at faster speeds and always test with light passes.
This method gives you crisp, elegant details. If you’ve ever seen a marble plaque with a fine photo or intricate script, chances are it was built up with careful, repeated passes. The results can look almost hand-sketched, with a soft, natural contrast that marble shows off so well.
Slate—contrasty and forgiving
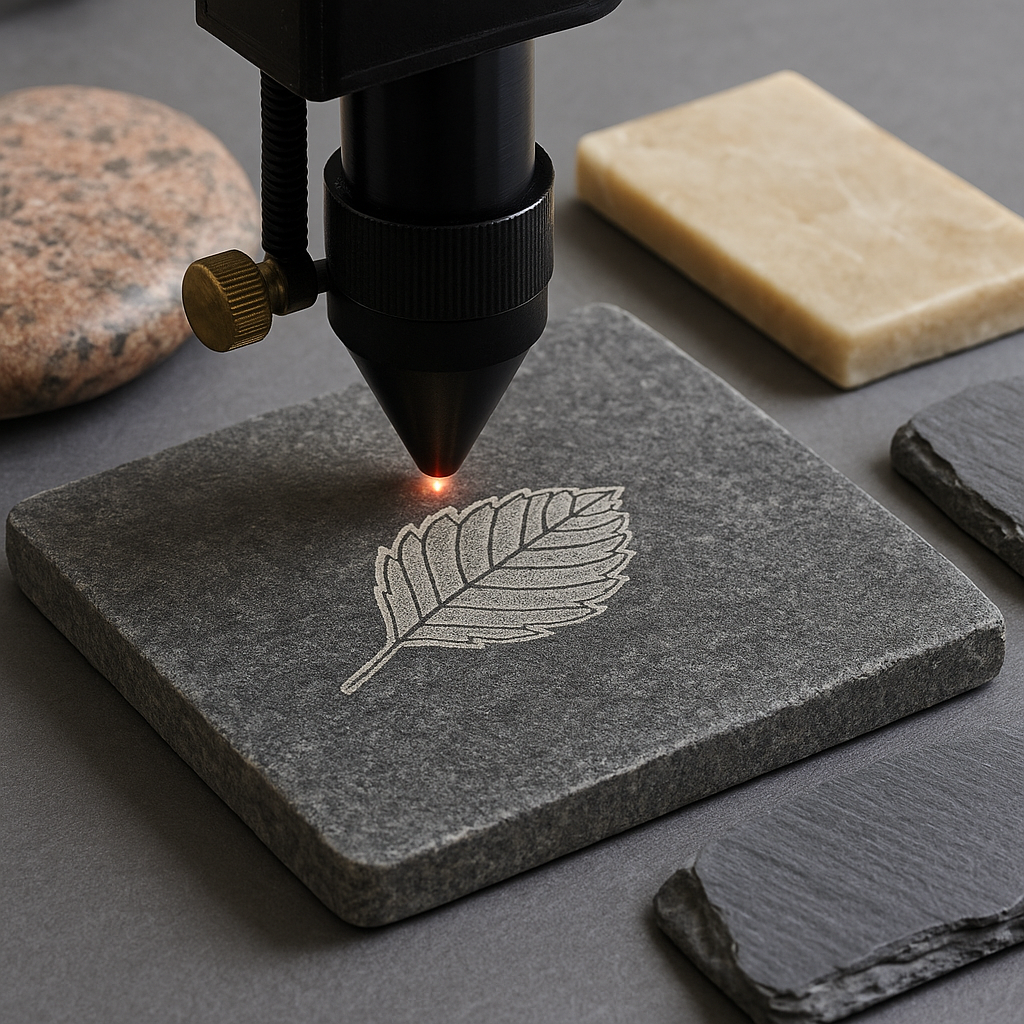
Slate is a favorite for beginners—and for good reason. It’s flat, predictable, and creates strong contrast without much tweaking. At 20–30% power and moderate speed, the design usually pops right away.
That means fewer wasted test pieces and faster results. Engraved slate coasters, signs, and wall décor are popular because the dark surface against the light engraving creates an eye-catching, rustic style.
Another bonus? Slate rarely chips, which makes it perfect for experimenting with bolder designs or first-time projects.

Do Settings Differ for Gemstones?
Engraving harder vs softer gems
Here’s where things get really interesting. Gemstones are not only harder to engrave than common stones—they’re also wildly inconsistent. Two pieces of quartz can behave totally differently depending on impurities, clarity, or even color.
Harder gems like jade or quartz usually need higher power and slower speeds, often with several passes. It’s a careful process, but the end result can be stunning: crisp lines that sparkle in the light.
Softer gems like turquoise or malachite need the opposite approach. Use low power and faster speeds to avoid cracks or breakage. Think of it like engraving glass—too much pressure and it shatters. Always test on a small corner or scrap before going all in.
If you’re engraving jewelry or keepsakes, it’s worth noting that gemstones heat quickly. Taking breaks between passes helps avoid thermal stress and keeps the stone intact.

Testing & Fine-Tuning for Best Results
Creating test grids
Imagine you’re about to engrave a $50 slab of marble. Do you really want your first attempt to be the final design? Probably not. That’s why a test grid is your best insurance policy.
A test grid is simply a matrix of small squares, each using slightly different power and speed combinations. When you engrave it onto a scrap piece (or even the back of your stone), you’ll instantly see which settings produce the best depth and contrast.
The beauty of a test grid is that it becomes your cheat sheet. Once you know how a particular stone reacts, you’ll spend less time guessing and more time creating.
Iterative calibration process
Even with a test grid, stone engraving is a process of fine-tuning. Think of it like adjusting a camera lens: you get close with the first try, then slowly refine until it’s sharp.
Start with your test grid results, then tweak in small increments. Increase power by 5% if the lines look faint. Bump up speed slightly if the engraving looks too deep. Adjust focus if edges are fuzzy.
The goal isn’t perfection on the first try—it’s progress. With each adjustment, you’ll learn how that particular stone behaves. And the more you practice, the quicker you’ll develop an instinct for dialing in settings on the fly.


Leave a comment